[ad_1]
This is the story of a woman who fell obsessed with guessing why the coffee she was making at home was not as good as she had promised. favorite cafe. Although the search for how to make coffee at home almost broke me, I think I ended up breaking the code.
Okay, that’s a small exaggeration. But I fell off the couch while I was researching coffee on the computer when I grabbed a bottle of water from the table and dropped a plant, breaking the pot on the floor in the process. It’s been a year, everyone.
On the one hand, the “side” of the things that the quarantine has brought to my life, being able to take the mornings slowly during the week (WFH that life!) Has been to dedicate more time morning coffee routine. It arose out of necessity rather than desire to do so. My favorite coffee shop, now happily reopening, was closed to start “staying home” and I immediately realized if I wanted a decent cup of coffee, I had to do it myself. Easier said than done, folks. So I set out on a mission to learn how to make the best coffee.
I don’t have a coffee machine or an espresso machine, ever. And in March when a friend gave me a gift when I took out Chemex, I realized I didn’t have a coffee filter or better water. I didn’t even have coffee beans at home. Obviously, I didn’t know the first thing about how to pour coffee.
Read a woman’s (sometimes tiring) trip home to learn how to make the best coffee spill.
Do you see this face? Concentration and pure determination. I do that specific face in my kitchen every morning now.
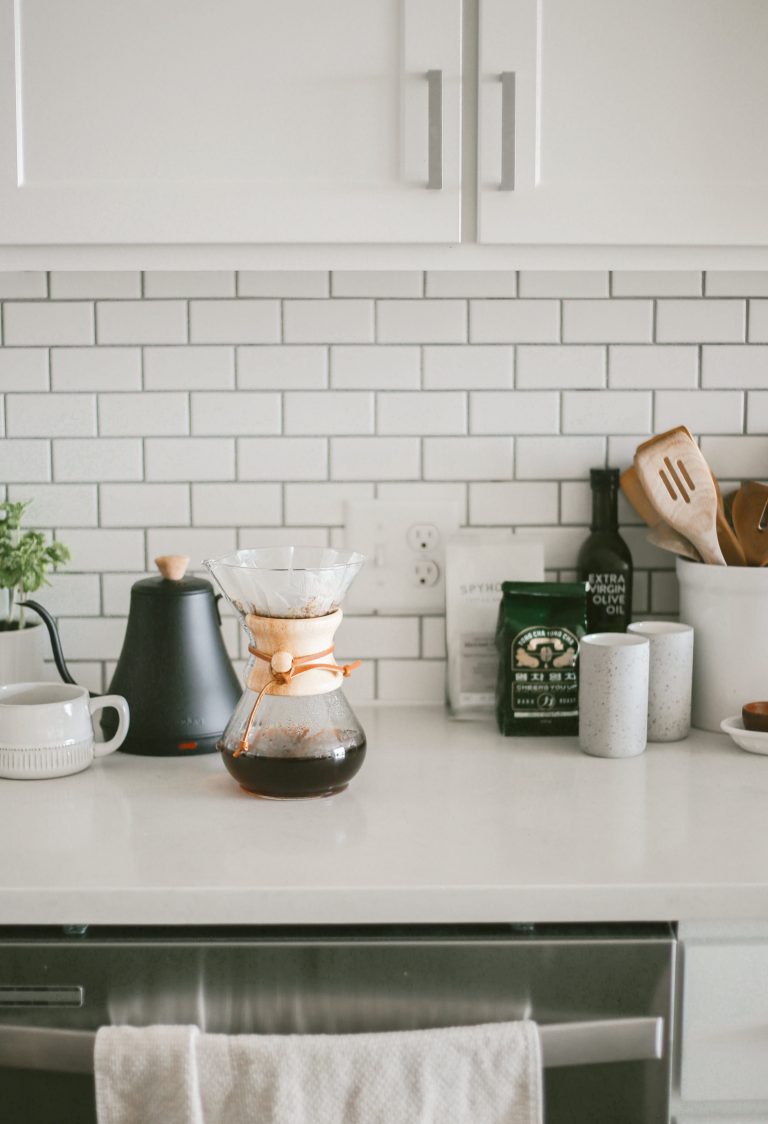
There is an almost reflective discharge process. The hot water is in the form of pouring into concentric circles, as the ground blooms and you get the initial murmur of fresh morning coffee as you watch the coffee enter the Chemex basin, waiting to be thrown into your favorite bowl.
After inventing the method you prefer and understanding how the changes you make affect the end result, the whole process takes on a very fun scientist atmosphere and I’m totally hooked. So after a lot of trial and error (hey, I’m still learning!) And after a lot of cup of coffee, here’s my take-off journey to start on your slope.
Tools.
Kitchen scale – Although I don’t usually need a kitchen scale for my recipes, using a scale will allow you to create a more consistent brew, I use this.
Filters – Use your coffee filters! It was done by Stumptown a full review which coffee filters are best for your coffee and why they matter.
For Over Koffeemaker – I personally A chemex that I love it, but I’ve also seen drops of pottery that take up less space and allow beer to fit into your favorite bowl. Choose it!
Boiler-necked Boiler – Is a goose-dry pot necessary? I didn’t think so, but now I understand that it’s very helpful to control your spill and make your coffee bloom evenly. Badut this electric pot, but I’m also seeing an upstairs kitchen.
Coffee grinder – There seems to be some debate as to whether the burr grinder or the grinding blade is moving here. Professionals suggest burr grinding as it provides even more grinding and better flooring. I personally do this shovel grinderIt was an economical and affordable move as a beginner and once I selected the right technique to use, I found it to work well. However, once you become a professional, you may want to move up to a grinder.
Coffee beans – Use your favorite!
The process.
It seems that the relationship between soil and water varies slightly depending on what you ask. 1:15 – 1:17 I’ve seen a lot of water in the soil and there. After some analysis, I held about 25g of coffee beans in 500g of water. Play with the ratios the way you want!
Clean the filter.
The taste of the paper and any residue that may be in the filter are removed, improving the taste of your coffee. Set the filter for the spill.
Crush the coffee beans.
This is part of a process where I’ve done a lot of experiments and had to do a lot of reading, because the size of the grind is the biggest factor that affects the taste of your coffee. The bad news is, there are no clear rules for grinding right, because there are many factors that determine the ability to get the best flavor out of your ground. The good news is that there are some general rules that will get you on the right track.
The easiest way I’ve been able to decode this is that the more severe your coffee floor is, the slower the extraction speed and the less concentrated the coffee cup, because the faster the water moves through the floors. The finer the soil, the faster the extraction rate and the more concentrated the flavor, because the brew time increases. The sweet spot is somewhere in the middle, so you surface the right surface of your coffee ground into the water for the best extraction rate that will allow for the best flavor. I have read many articles saying that your grind should look and feel. similar to severe salt. Keep in mind that uniformity is key when it comes to grinding, if your soil comes in different sizes, the extraction rate will be different and your flavor will be thrown away. This is why professionals prefer a burr grinder to a sheet grinder.
There are a number of other factors to consider as well. Every bean is different. If you are trying a new coffee bean, you need to properly grind it to release the best flavor. Roast date (remember when you buy coffee beans examining the date of smoking, not the sale by date!) is just as important. The older the coffee beans, the finer you will want to grind them to release the most flavor in the extraction. Roast level is also important. A general rule I have found is that roasted soil is for rougher soils, and finer grinds for lighter burns.
Heat the water.
If you want to get super accurate, it seems that many parties suggest heating the water to about 200 degrees. If you don’t have a thermometer, the suggestion is to boil your water, remove it from the heat, and let the water sit for thirty seconds or minutes to cool it down a bit.
Pour water.
The first water discharge should be sufficient to saturate the soil and mix the soil. This allows the coffee to bloom. Here I pour about 50g of water and then let it come out for a minute. Move wet soil before proceeding to the next discharge.
Start the main spill after the coffee blooms. Start the next 100g spill in the middle of the floor and go in concentric circles to the edge of the filter. Let the coffee bake for about thirty seconds or minutes before going to the next spill. Repeat this cycle until the water runs out.
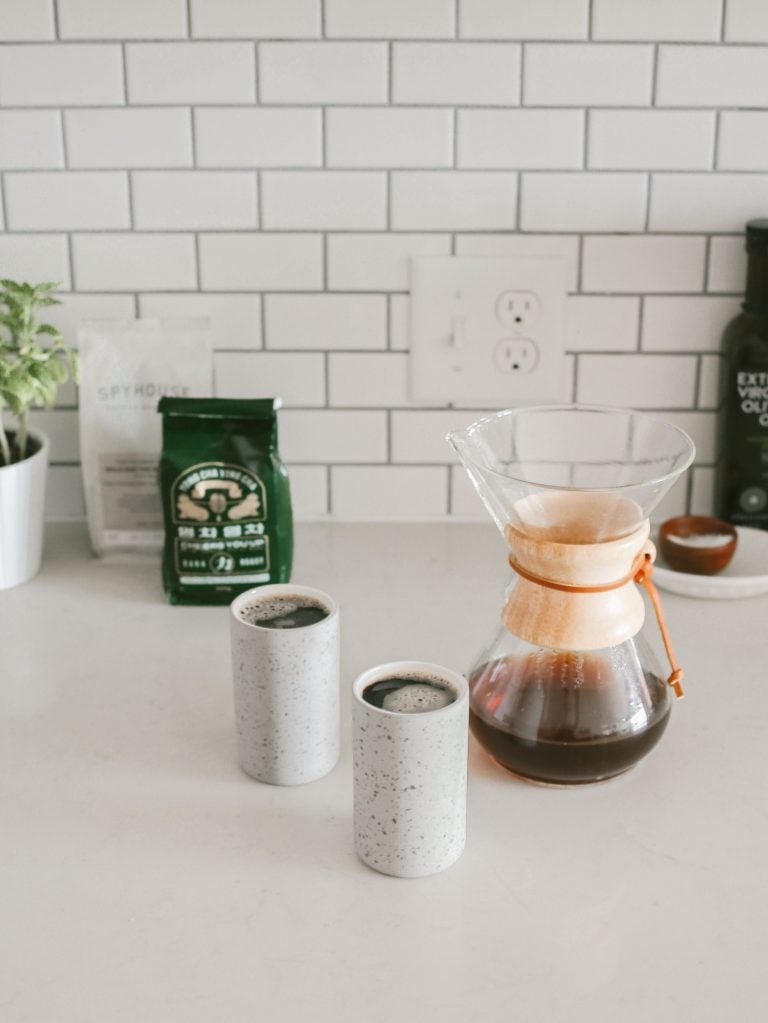
Enjoy with a cup of coffee!
Last but not least, the funniest and favorite part of my process … coffee !!
I’ve tried several different coffee beans in different coffee bags and small bundle toaster bags. Do your research, find out what flavors you like, which coffee toaster you like to accept, and try it with roast. If you’re not sure what you’ll like, the barista at your local coffee shop can point you in the right direction.
Here are some of my favorite options I’ve tried:
Costa Rica Genesis Villa Sarchi, Fritz Coffee
Panama Finca Deborah Morpho Gesha, Momos Coffee
Native Daughter, Sip and Sonder
Guatemala San Sebastian, Maru Coffee
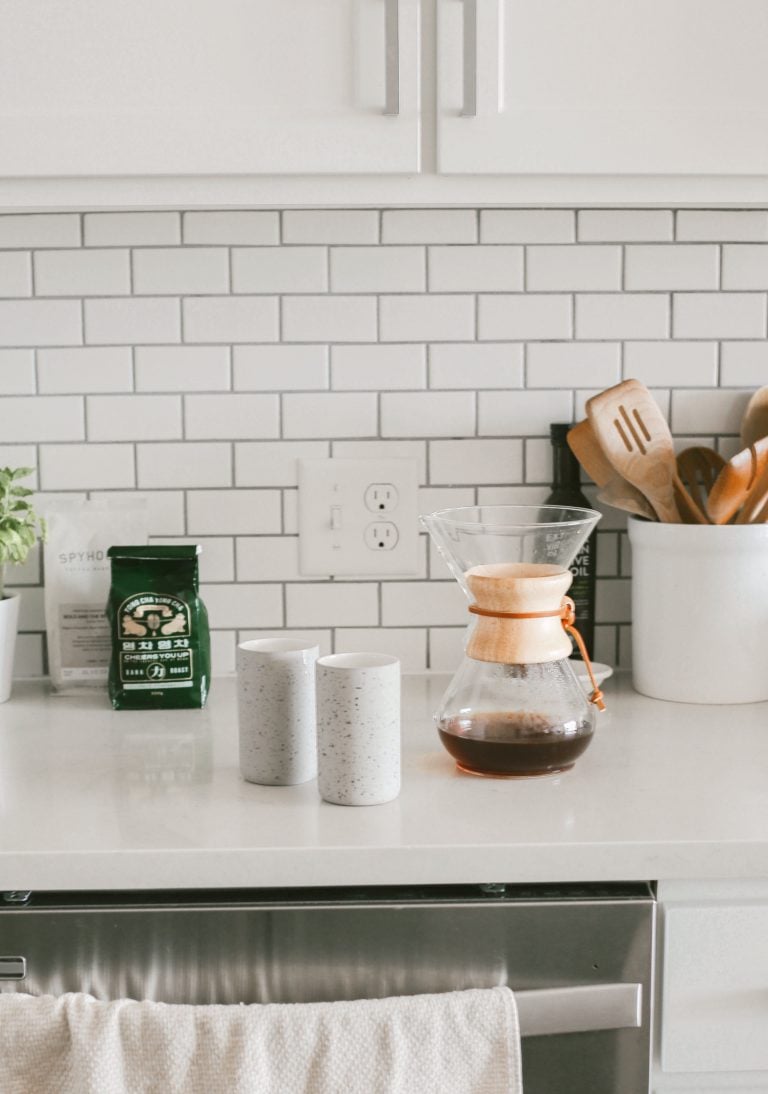
Bold and the Beautiful, Spyhouse Coffee
Learning how to make beautiful coffee is a fun and experimental process. It’s a chance to play with different factors and find out what you really like. Try these tricks, share your coffee tips, and here are several other mornings full of beer!
Do you all have coffee? Let us know your tips and tricks for the best coffee below!
This post was originally posted on August 13, 2020 and has been updated ever since.
[ad_2]
Source link